Setting up OpenGL, GLEW, and FreeGLUT in Visual C++
This post walks you through setting up OpenGL, GLEW, and FreeGLUT support in Visual C++ in order to compile the samples properly. My original thought was to put this in an appendix after all of the chapters were completed, but there's need for it now, so here's the extremely verbose step-by-step explanation:
I'm assuming that you have Visual Studio installed or at least Visual C++ Express, which you can get for free right here, and and install the Windows SDK as well if you get the Visual C++ Express version, which you can get here.
Step 1: Get the Libraries
1.) Download the binary version of FreeGLUT from this website, make sure the version you get it 2.6.0 or higher.
2.) Download the latest binary version of GLEW from their site, make sure to download the one labeled Windows 32-bit.
Step 2: Copy the Libraries
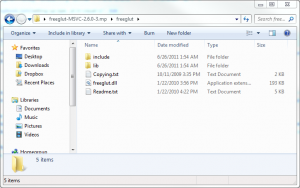
Decompress the files you just downloaded and open up the folder for FreeGLUT:
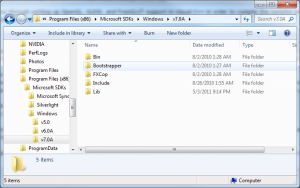
Open up another explorer window, and type %PROGRAMFILES% in the address bar, or %PROGRAMFILES(X86)% only if you're on a 64-bit system. Find the sub folder Microsoft SDKs\Windows\(highest version):
Copy the contents from FreeGLUT's lib folder into the Windows SDK's Lib folder.
Copy the contents from FreeGLUT's include\GL folder into the Windows SDK's Include\gl folder.
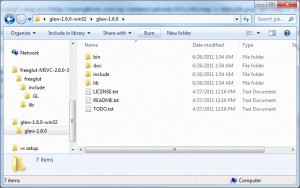
Now, in the Explorer window currently pointed to FreeGLUT's location, navigate to the location where you extracted GLEW:
Copy the contents from GLEW's lib folder into the Windows SDK's Lib folder.
Copy the contents from GLEW's include\GL folder into the Windows SDK's Include\gl folder.
Step 3: Creating the Project
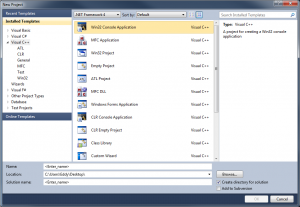
The next step is to set up the Visual C++ project, so start up Visual C++ Express or Visual Studio and in the menu bar, go to File -> New -> Project..., and click on the Visual C++ heading:
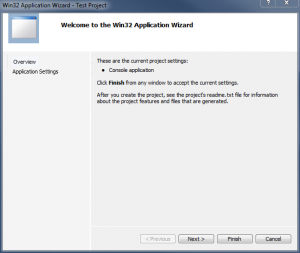
Make sure you have the Win32 Console Application option selected, type in a name for the project, and click on the OK button, and the following screen should appear:
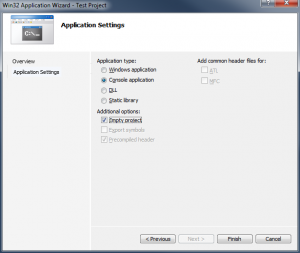
Click on next, but do not click the Finish button until you have checked the Empty Project check-box and your options look exactly like this:
Step 4: Adding a Source File
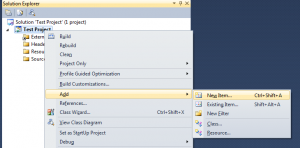
Now that you have an empty project set up, we need to add a source file, which we'll name main.c for this tutorial. Right-click on the project, navigate to Add and click on New Item...:
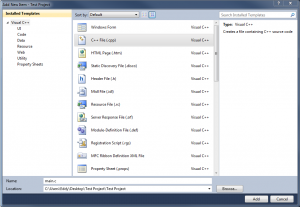
From the list, pick the option C++ File (.cpp), and change its Name to main.c (notice the change from .cpp to c):
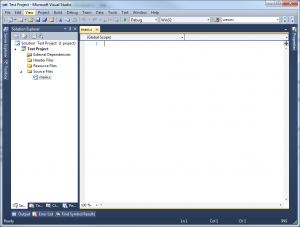
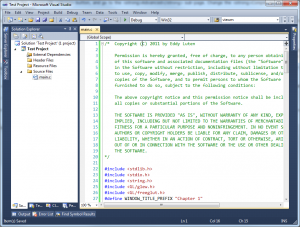
It's important to have this file in your project before you enter the settings screen since certain settings would not appear on the screen without at least one source file available. After you click the Add button, the new file should show up in your Solution Explorer and open up in the text editor:
Step 5: Project Settings (Compiler)
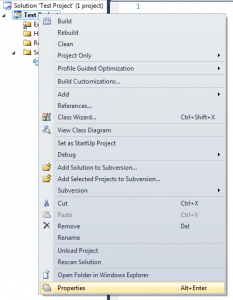
Right click on your project in the solution explorer again, and click on Properties in the context menu:
IMPORTANT: Make sure that before setting any settings to set the Configuration drop-down to All Configurations:
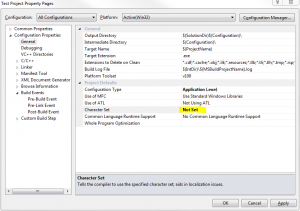
The first change we're going to make is in the General property page under the Configuration Properties heading. in the property page, change the Character Set option under Project Defaults to Not Set (see highlighted screenshot):
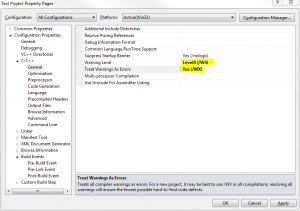
Next, go to the C/C++ property page, click on the General sub-page and change the Warning Level setting to Level4 (/W4), and the Treat Warnings As Errors setting to Yes (/WX) (see highlighted screenshot):
Next, go to the Preprocessor sub-page, expand the drop-down list next to the Preprocessor Definitions option, and click on Edit.... In the screen that comes up, insert a new line at the top of the options list, and add _CRT_SECURE_NO_WARNINGS so that your list looks like this:
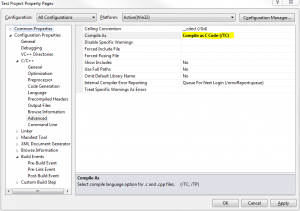
IMPORTANT: Click on the OK button, and go to the Advanced sub-page. Change the Compile As option to Compile as C Code (/TC) (see highlighted screenshot):
Step 6: Project Settings (Linker)
Go to the Linker property page, and click on the Input sub-page. Expand the drop-down list next to the Additional Dependencies option and click on Edit.... In the window, add glew32.lib followed by a newline, and freeglut.lib so that your list looks like this:
Click on the OK button, and when you're back at the settings screen, click on the OK button as well to save your settings.
Step 7: Compiling/Running the Project
Now it's time to test your setup, so grab some source code from one of the chapters (I suggest chapter 1 for simplicity) and paste it into main.c:
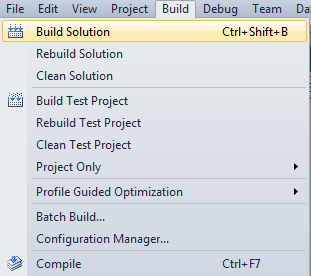
Go to the main menu, click on Build, click on Build Solution and your build should succeed without any warnings or errors:
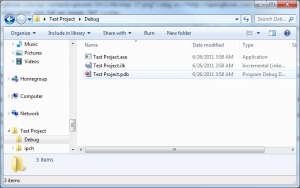
The next step is not to debug, but to copy some extra files into your project's output folder. So open up an explorer window, and point it to the location of your project output, which at this point should be the Debug folder in the solution's root folder. You should see something similar to this:
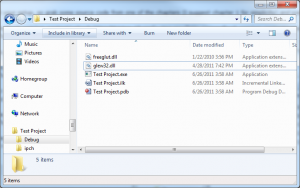
Open another Explorer window to the location where you extracted GLEW, and copy glew32.dll from the bin folder into the output folder of your project. Now, navigate the explorer window to the location where you extracted FreeGLUT, and copy freeglut.dll from that folder to the output folder of your project, which should now look like this:
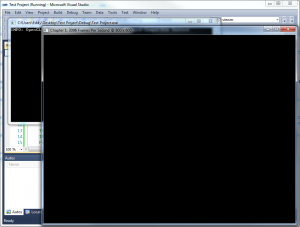
You should now be able to compile, debug, and run your program without warnings and errors:
Final Thoughts
This is of course one of many ways of setting up a project, but should point you in the right direction.
One thing that I like to do for certain projects is include the DLLs as part of my solution in a Solution Folder, and copy them after a successful build with a custom Post-Build step.
A cleaner way that doesn't require copying the libraries is to compile the libraries yourself and include them in your Solution as a Visual C++ static library project and set your OpenGL projects to depend on the output (build order). It increases the size of your solution, but being able to tweak source code and control what's inside a compiled binary is priceless.
If you have remarks, questions, or concerns, post them in the comment section below.
